The Forge Wiki
The Forge Forging Guide
Craft faster and hit more perfects with this the forge wiki breakdown of every forging mini-game step. From picking ores to the final hammer strike, you'll know how to push quality multipliers higher without wasting materials.
Overview
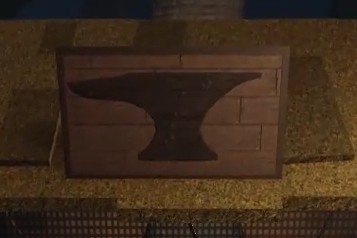
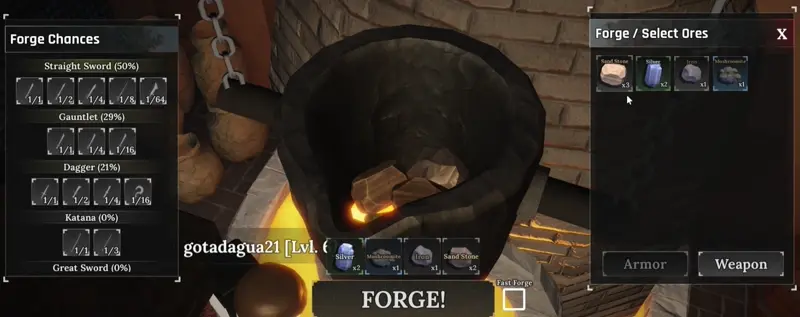
The Forge sits at the center of Stonewake's Cross—look for the anvil icon on your compass. Interact with the crucible to open the crafting menu, choose weapon or armor output, then load ores to begin.
Quality scales with ore rarity and stat multipliers. Mixing higher-tier ores raises the crafted item's base stats and perks, so plan your smelts before starting the mini-games.
Quick tip
Follow the forge icon on the compass for a direct path, and keep spare low-tier ores for practice runs.

Mini-Game Explained
Forging runs through three short challenges. Clear each one cleanly to keep the progress bar moving and to unlock higher item quality:
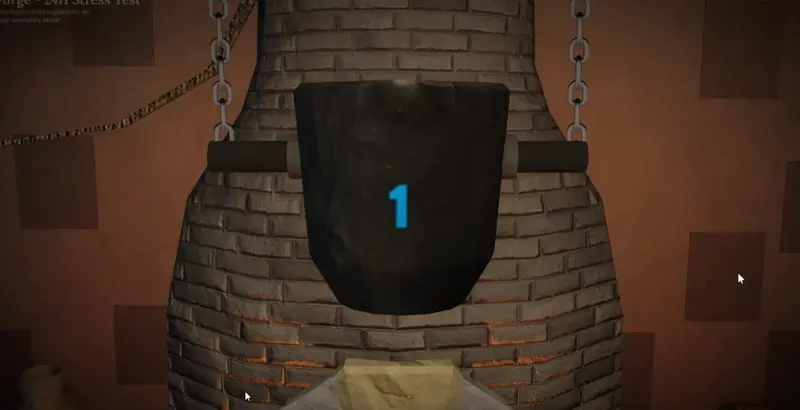
- Heat the crucible until every ore melts.
- Pour steadily into the mold while balancing the marker.
- Hammer the cast with on-beat clicks, then quench.
The First Step – Heat the crucible
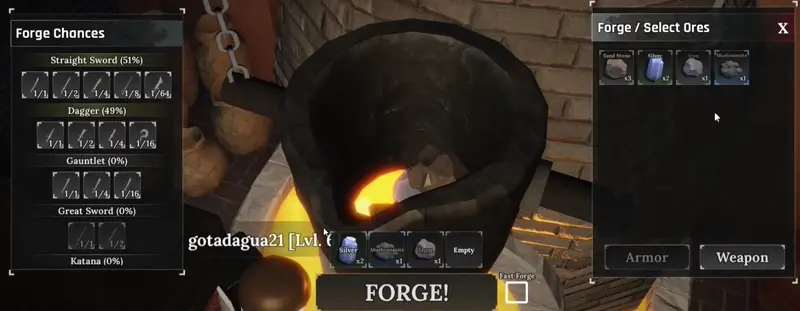
Drop ores into the crucible, pick weapon or armor output, then pump the bellows fast to liquefy the mix before time runs out.
- More ores unlock heavier weapons or bulkier armor; rarer ores raise quality multipliers.
- Watch the heat bar: quick, even bellows strokes keep the melt stable and prevent stalling.
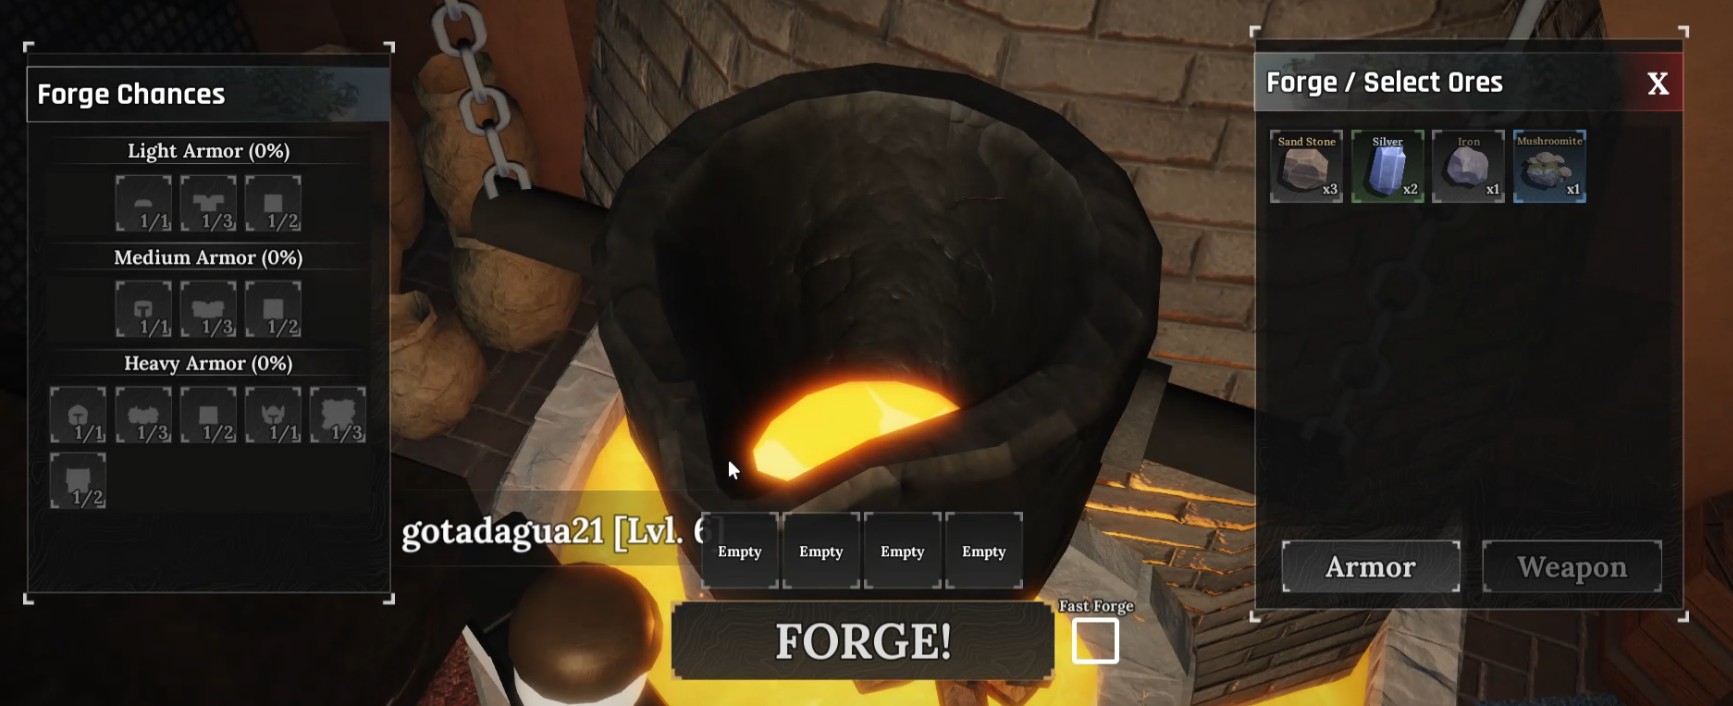
Crucible setup snapshot
Load ores based on the item size you want. More pieces unlock heavier classes, while mixed rarities let you push multipliers without burning premium resources.
The Second Step – Pour the melt
Tilt the crucible and balance the moving marker inside the yellow band so the mold fills quickly without spilling.
- Hold left click to raise the white marker; release to drop it—keep it inside the band for perfect flow.
- A steady pace fills the progress bar faster and sets up a cleaner mold for the final step.
Keep heat while you pour
If heat drops mid-pour, the progress bar slows down. Alternate between brief holds and releases to keep the marker centered and the metal flowing.
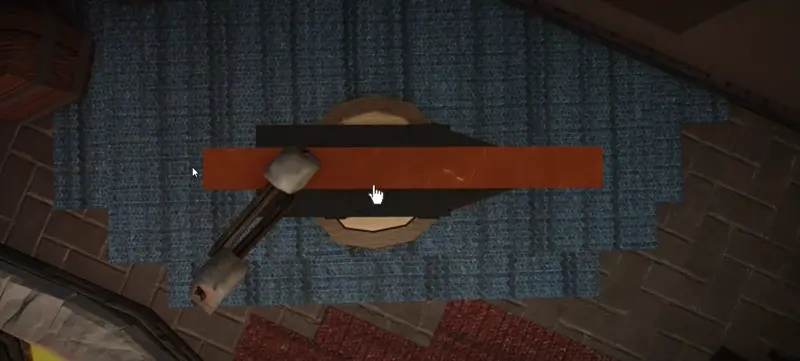
The Third Step – Break and hammer
Crack open the mold, tap the circles on beat, and land perfect hits to lock in higher quality before quenching.
- Click as the shrinking ring meets the inner edge to score a Perfect; more perfects mean stronger stats.
- Finish with the quench to finalize the weapon or armor, then equip or sell from your inventory.
Related Entry
Enhancing (gear upgrades)
Keep improving the gear you forge. Jump to our enhancing notes to see how stat multipliers stack and when to reroll perks.
Table of Contents
Forge